
Intro
This article/post/whatever is very long and rambly and full of just-ok quality photos, but I put a lot of effort into this and I want to record as much as possible and hopefully make Reddit think I’m cool.
Building a keyboard was entirely new to me, so I tried to make this article as noob-friendly as possible for people like me. There are a few stages of the build process:
- Research and Design
- Ordering Parts (and waiting)
- Building the Keyboard
- Programming the Keyboard
Research and Design
The Board
Researching what you want for your board can take as long as you want. There are endless rabbit holes to go down in this hobby. It helps to decide on a few things you really want and design around that.
I wanted a small board that would be different from anything I’d used before. I wanted it to be split so my posture could be more natural, and I wanted to make the case out of Legos. I would have liked to do an ergonomic board (I considered the Iris), but that didn’t seem possible with a Lego case, so I went ortholinear and did a Let’s Split.
Choosing switches (the magical buttons hidden under keycaps) is a big deal. This will decide if your keyboard is clicky or quiet, how hard you have to press the keys, and whether you can feel when a key actuates (sends its signal to the computer). I decided I wanted tactile switches so I could feel the keys actuating (vs. linear) but wouldn’t make a lot of noise (vs. clicky). I also needed to get PCB-mounted switches because you can’t make a plate out of Legos. I went with Kailh Plums because I wanted a heavier feel, NovelKeys had a PCB-mounted option, and they were a good price.
Oh, but I did use a different switch for my escape key (I swapped switches with a coworker). It’s a Kailh BOX Jade, probably the loudest clicky switch I’ve ever heard. It’s fun for the occasional escape key press, but I wouldn’t make a whole board with it.

For keycaps, I was set on the DSA profile. They’re short and uniform, great for an ortholinear board. I wanted side-printed legends but that’s impossible to find for DSA, so I scrapped that. I also wanted a dark gray/dark blue colorway. I ended up picking a cheap blank option that was available on MassDrop, but I’m still on the lookout for an ideal set.
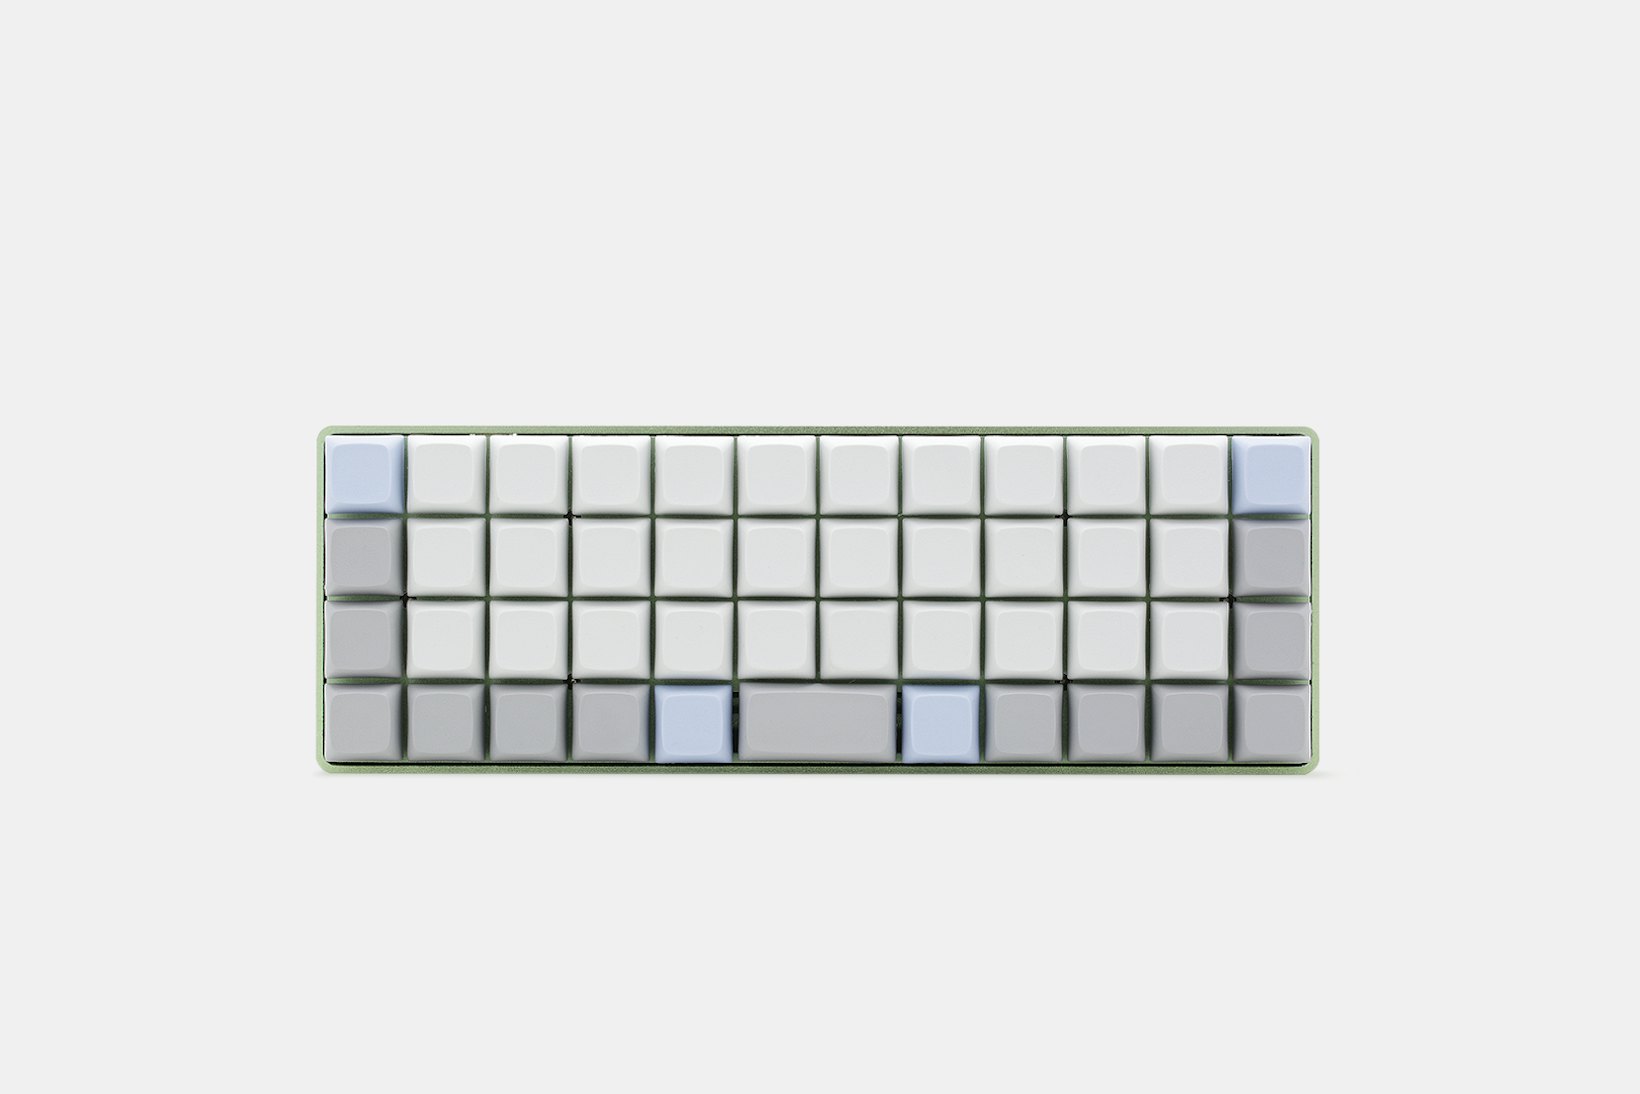
I went with white PCBs (Printed Circuit Boards) because I thought they looked cooler than the black or blue. And I got a USB-C Pro Micro (the magical chip that communicates your key presses to the computer (I think)) for the right side of my board because I read that it’s more durable. This is the thing you use to connect your keyboard to your computer, so I didn’t want it to break. A split board needs a Pro Micro on both sides to flash it initially (get it set up to take in firmware), but only the master side needs to be plugged. I opted for a cheaper Micro-USB Pro Micro for the left side since I would only need to plug it in to initially flash it.

The Lego Case
Finally, designing the Lego case was the most difficult part. I couldn’t afford to order a bunch of Legos just to find out I got the dimensions all wrong, but I also don’t have any fancy 3D modeling software or whatever. So I stuck with my go-to high-class design platform, Google Drawings.
First I found the dimensions of Lego bricks and the dimensions of keycaps (and the space between them) and compared them in this document. Then I made a rough layout of the Lego pieces I’d need to order. I’d suggest ordering a few longer plate-with-rail pieces than I did, and a few shorter plates and bricks than I did, since I didn’t plan well for the two openings needed in the back for cords.
I originally thought I’d have to make my board with a 17×12 Lego grid, but I found that I could get a little extra give on space between the Legos if I propped the PCB up toward the top of a brick rather than the bottom.
The 17×12 version leaves more breathing room and allows the PCB to rest lower down, but it makes your board wider and leaves your PCB open to sliding a bit without more rail pieces (or whatever solution you devise).
The 16×12 version takes up less space and requires less Legos, but the PCB has to sit a little higher to squeeze in width-wise. I opted for this version because I wanted it to take up as little space as possible.
You should definitely make this design your own. I went with slate gray, but I’m boring. And I’m sure you can come up with other solutions to make the most of space. I had virtually no Legos to plan with, so I had to do this all in my head and wait 3 weeks for my Pick-a-Brick order to come in. From there, I had to work with what I got (and order some extra pieces from eBay).
I also wanted my case to be portable, so I made Lego covers that double as wrist rests (you’ll want to order some flat plates if you use them as wrist rests). Putting a few 1×1 plates or circle pieces around the top edge of the case makes it easy to pop these covers on and off.
The right side (my master side) needs to be slightly different from the left side because the Pro Micro hangs a little lower. I didn’t account for this (because I had no idea it would happen), but I made it work by taking out a 5×3 plate-worth of legos on the top layer of the base.


Ordering Parts (and Waiting)
This section is kind of ugly, but it’ll give you a good idea of what you need to order, where you can get it from, and how much it’ll all cost. Totally skippable if you don’t care about that.
All told, I spent a little over $150 on my keyboard. I’ll end up spending more once I find keycaps I like.
SpaceCat Design
| 1 | [TRRS] Nylon (5ft, Various Colors)Blue | 1 | $2.99 |
| 2 | TRRS Jacks (SJ-43514) | 2 | $7.98 |
| 1 | 1N4148 Diodes (Through-Hole, 50pcs) | 1 | $2.29 |
| 1 | Pro Micro 5v | 1 | $7.99 |
| 1 | Let’s Split PCBs | 1 | $9.99 |
| Description | Price |
|---|---|
| Subtotal | $31.24 |
| Shipping | $5.83 |
| Total | USD $37.07 |
Keebio
| Product image | Description | Quantity | Price |
|---|---|---|---|
| 1 | Elite-C – USB-C Pro Micro Replacement – Arduino-compatible ATmega32U4 | 1 | $17.99 |
| Description | Price |
|---|---|
| Subtotal | $17.99 |
| Shipping | $4.15 |
| Total | USD $22.14 |
NovelKeys
| Product image | Description | Quantity | Price |
|---|---|---|---|
| 5 | NovelKeys x Kailh Pro HeavysPlum / PCB | 5 | $14.00 |
| Description | Price |
|---|---|
| Subtotal | $14.00 |
| Shipping | $3.99 |
| Total | USD $17.99 |
MassDrop
NPKC Blank PBT Keycaps for Ortholinear Keyboards
- QUANTITY 1
- SUBTOTAL $20.00
- SHIPPING & HANDLING $3.75
- TAX (7.250%) $1.72
- TOTAL (USD) $25.47
Lego Store (sorry this is a mess)
This didn’t turn into a neat table like the above, but you’ll want to focus on the bold name and the italic quantity so you can get an idea of what and how much to order. But be sure to read the Research & Design section on the Lego case because the below is not perfect, and you may want to make some alterations for yours.
- Article Product Description Quantity Unit Price Discount Net Price Net Amount
- -4211067 -2445 -PLATE 2X12 12 0.34 4.08
- -4211056 -3666 -PLATE 1X6 12 0.14 1.68
- -4256149 -3028 -PLATE 6X12 12 1.34 16.08
- -4211107 -6111 -BRICK 1X10 16 0.33 5.28
- -4211109 -2357 -BRICK CORNER 1X2X2 16 0.17 2.72
- -4211099 -3008 -BRICK 1X8 8 0.29 2.32
- -4211104 -3622 -BRICK 1X3 12 0.14 1.68
- -4211103 -3010 -BRICK 1X4 8 0.15 1.20
- -4211063 -3023 -PLATE 1X2 4 0.07 0.28
- -4211133 -3623 -PLATE 1X3 4 0.07 0.28
- -4210967 -4510 -PLATE 1X8 WITH RAIL 8 0.21 1.68
- -4543086 -32028 -PLATE 1X2 WITH SLIDE 12 0.06 0.72
- -4211088 -3004 -BRICK 1X2 4 0.11 0.44
- -4213607 -3701 -TECHNIC BRICK 1X4, Ø4,9 2 0.18 0.36
- -4121715 -2780 -CONNECTOR PEG W. FRICTION 3 0.06 0.18
- -4211008 -4162 -FLAT TILE 1X8 4 0.14 0.56
- -4210848 -3070 -FLAT TILE 1X1 2 0.06 0.12
- -4257526 -4477 -PLATE 1X10 4 0.18 0.72
- -4210998 -3460 -PLATE 1X8 4 0.18 0.72
- -4210719 -3024 -PLATE 1X1 4 0.06 0.24
- Subtotal $41.34
- Shipping & Handling Free
- Tax $3.10
- Invoice Total $44.44

Building the Board
There are tons of great resources for this part, most notably An Overly Verbose Guide to Building a Let’s Split Keyboard. I’m just gonna supplement that with some pictures and some of my mistakes.
Soldering the keyboard was surprisingly easy, though I did make a few mistakes that cost me a lot of time and frustration. More on that in a minute…


You’ll notice in the picture above I neglected to jumper that VCC GND grid thingy. I didn’t understand that section of the Overly Verbose Guide, so I assumed it was an optional step for LEDs or something. I was wrong. If you don’t jumper these, your two halves won’t talk to each other, which is awful and makes you spend hours hunting for answers on Reddit.
I also didn’t know what it meant to “jumper” or “bridge” things (I’m probably still misusing the terms). It just means that you connect them with a little solder bubble thingy.
I thought I got a picture of them properly soldered, but I guess not. Just be sure to do both sides the same way as shown in the Verbose Guide.

Building the Lego Case
I built and took apart the Lego case more times than I can count before I got it to a state I liked. Here’s a wall of pictures to give you an idea of that process.


And a bunch of pictures of the final product…


A little crochet potholder I used before I had enough flat pieces for the wrist rest.

Programming the Board
Ok, so it’s all put together and pretty now, but does it work?
To make it work, you have to flash firmware to your keyboard. Flashing firmware basically just means plugging your keyboard into a computer and installing the code that makes it work. There’s a magical program called QMK (short for Quantum Mechanical Keyboards (I think)) that lets you customize your keymap in incredible ways, which is really important for a board with only 48 keys.
Most of what you need to know you can find in the Flashing section of the Overly Verbose Guide and the Let’s Split QMK Readme. I’ll just throw in some roadblocks I hit and choices I made.
I think because of the USB-C Pro Micro I used, the make lets_split/rev2:YOUR_KEYMAP_NAME:avrdude command doesn’t work to flash my board. Instead, I use make lets_split/rev2:YOUR_KEYMAP_NAME:dfu. I forget why it’s necessary, but it is.
I haven’t figured out an easier way to re-flash my board on the fly yet, so I just use a long piece of metal that I found to hit the reset button on the Pro Micro. If anyone is still reading and knows how to make this easier, let me know. Everything I’ve tried so far hasn’t worked.
As far as my keymap, I’ve done a few things that I really like. I use Mod Tap and Tap Dance, which are pretty essential for a keyboard with such few keys, though Tap Dance is a little complicated to set up and calibrate to your liking.
I’ve made my ; key move to my navigation layer when held down. My arrow keys are on IJKL, so I can use my arrow keys from the home row with only one hand. My Tab key also takes me to the navigation layer when held down (I put Tab where Caps Lock normally is because, as all mechanical keyboard folks know, Caps Lock is the biggest waste of space).
On my navigation layer, my left hand’s home keys are Ctrl, Alt, Shift, and Cmnd, so that I can modify my arrow keys easily without leaving the home row.
My bottom row, from left to right, is \ (tap) and Ctrl (hold), -, =, `, Backspace (tap) and Shift (hold), Space (tap) and Cmnd (hold), Space (tap) and Cmnd (hold), Delete (tap) and Shift (hold), [ (single tap) and ( (double tap), ] (single tap) and ) (double tap), ! (tap) and @ (double tap), Enter. Thumb shifting is really nice and was fairly easy to get used to. It’s just annoying when I need to use an ordinary keyboard.
I moved Enter to the bottom row because I kept hitting it on accident when trying to type quotation marks or hit my symbol layer key (which is where the Shift key normally is).
Holding modifier keys on the bottom row with my ring or pinky fingers is very uncomfortable, so it made sense to turn those into somewhat common symbols and move my layers closer to the home row.
I made a numpad layer where 456 are where JKL normally are, another way to keep me on the home row. I had numbers on my symbol layer for a while, but it was too awkward to shift to that layer with my pinkies and try to type numbers quickly. I’ve never used a numpad before, but it’s been great so far. I shift to the numpad layer by holding /. I like taking advantage of keys that I don’t type as often by adding extra functionality to them.
I also have a symbol layer that corresponds to the number layer (so $%^ are where 456 are. I reach the symbol layer by holding '. So basically all of my special layers are hit with my right pinky, and it’s awesome.
I initially tried to make my top row a Tap Dance row for my number keys, which was an awful idea. It slowed my typing down to a crawl and made it incredibly error prone. Typing a word like “little” would result in “li5le”. It was a dark time.
Those are some of my favorite keymap choices, but it’s a constant work in progress. In fact, this section is already out of date, but I’m too lazy to update it.
That’s it.
Yup, that about covers it. I’ve been using my keeb for about 2 months now and I’m super happy with it.
TL;DR: I built my own ortholinear split keyboard with a Lego case. It’s super cool.
